Products with dual capabilities make life easier, allowing us to carrying around one less electronic device. The PlayStation Portable does just that. You not only have hours of entertainment with hand-held games but can store music for on the go as well!
The PSP, or PlayStation Portable, is a Sony product that is known for its video game capabilities, but it can also be used to store music.
You Will Need
* Sony PSP
* Computer
* USB cable
* Music files
* Optional: Internet access
Step 1: Connect to the PSP
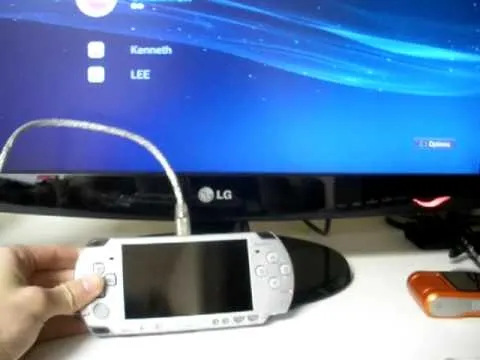
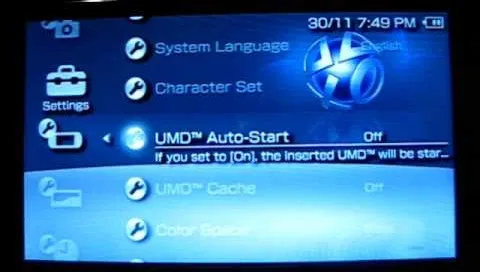
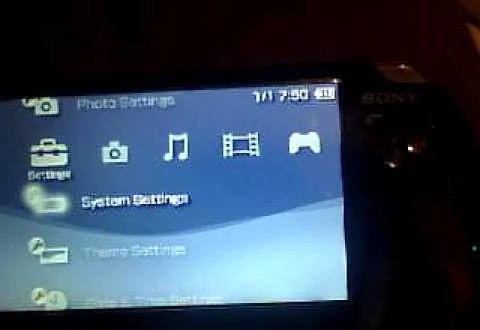
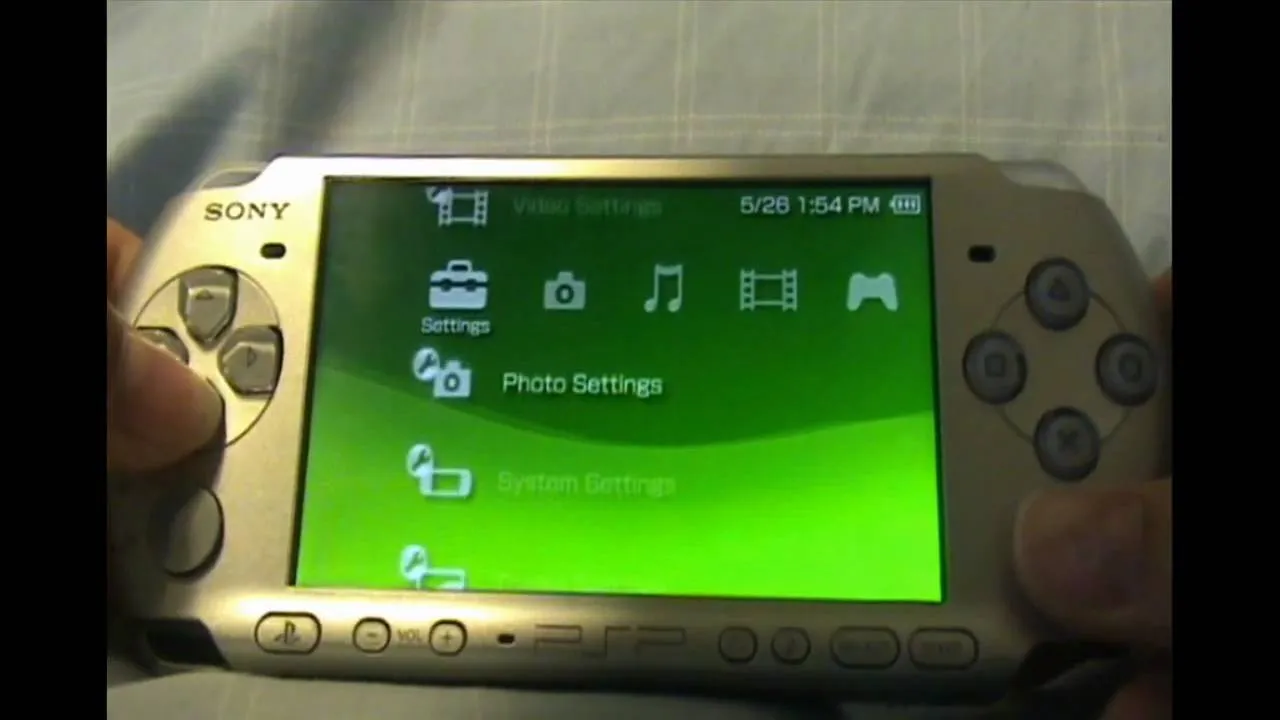
Connect the PSP to your computer with a USB cable. Press the Home button on the PSP, and then use the Left and Right buttons to find the settings area.
Search for USB cables online to find the right one for the PSP if you don't already have one.
Step 2: Put in USB Mode
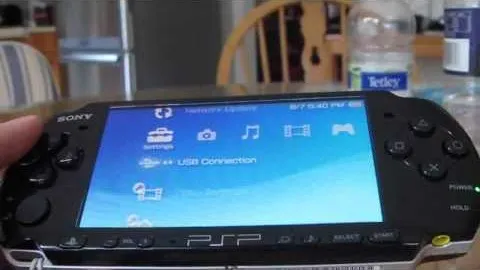
Put the PSP in USB mode by using the Up and Down buttons and finding the USB connection in the settings area. Your computer will tell you that a new USB device has been connected.
Step 3: Press the X button
Press the X button and your PSP will display the USB connection. Click on the drive letter that corresponds to the PSP unit.
Step 4: Create a folder
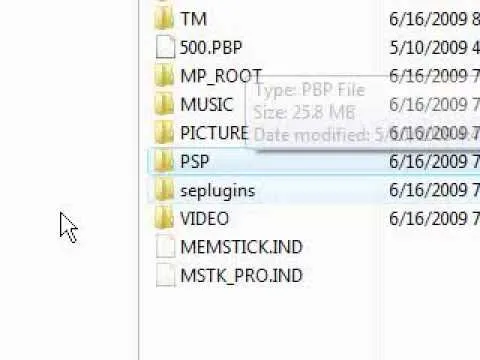
Create a new folder on the drive that corresponds to the unit called PSP. Within that folder, create another folder called "music."
Step 5: Copy music files
Copy the music files into the music folder.When you're done, press the O button on the PSP to get out of USB mode.
Convert WMA or WMV to MP3 format if you have a PSP running older firmware.
Step 6: Find your music
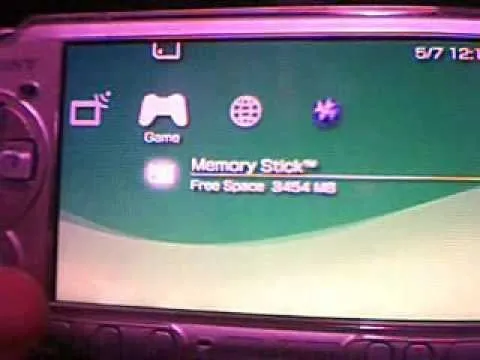
Find your music on the PSP by choosing the music folder and pressing the X button again. You will be able to see and play all of the music you just downloaded.
Did you know? Sony unveiled the PSP on May 11, 2004.











Comments
Be the first, drop a comment!